Share/Export/Preview
This explains how to share a completed dashboard with other users and groups, transfer it to another environment, and check it in preview.
Share & Permissions (ACL)
The dashboard supports permission settings (ACL) for each user and group. It uses a role system similar to the way collections inherit permissions (Share & Permissions).
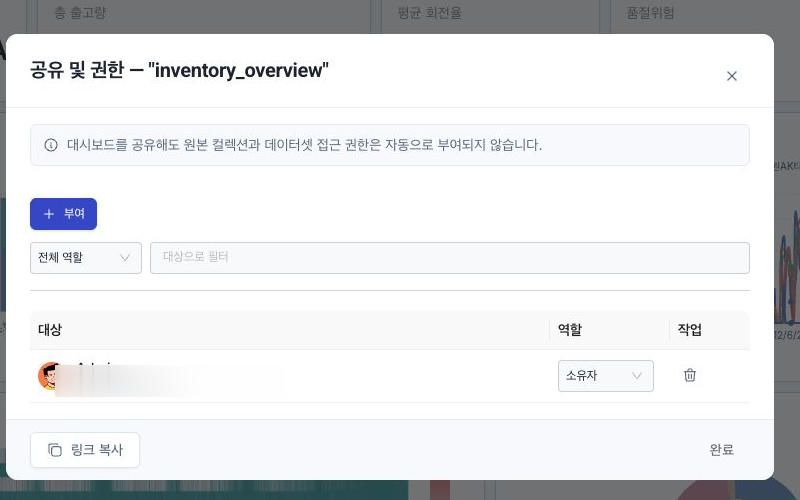
Open sharing dialog
- Dashboard
⋯menu on the list page → Share - Top header Share button in edit/viewer mode
- Right-click the dashboard item in the collection tree → Share
Role
| Role | allow |
|---|---|
| Owner | Full control — change settings, grant/remove shares, delete |
| Editor (Writer) | Edit·Save·Add/delete widget·Change DRS |
| Viewer | Preview·Filter·Refresh |
Widget-level access guard
If the user does not have permission for the dataset referenced by the widget, the widget will appear as a blank card and prompt in the preview, and the query will not run. If dataset permissions are different for each user, the widgets that each person sees will be different even on the same dashboard.
Consistency with collection permission inheritance
The role a dashboard has in the collection it belongs to is the floor guaranteed for that dashboard. Users who participate in a collection as a viewer can also access the collection's dashboard at least as a viewer, and if necessary, can raise their privileges to editor/owner only for that dashboard.
Exclusive Export / Import
In addition to collection-level ZIP, dashboards can also be exported as single-dashboard units.
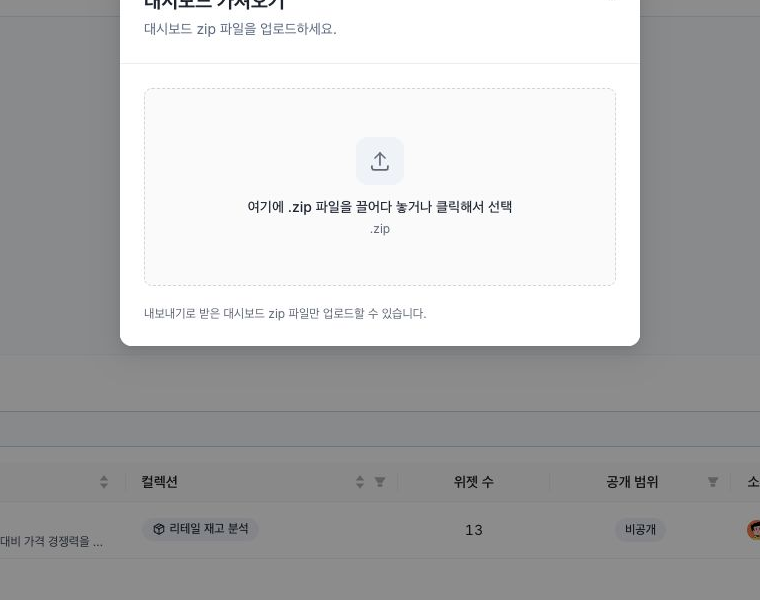
Export
- On the list page, select Dashboard
⋯menu → Export. (There is no separate export button on the edit/viewer screen, and export is provided only in the list menu.) - A ZIP file containing the configuration information file and widget settings will be downloaded.
The exported ZIP contains only the dashboard definition and does not include any collections, datasets, or SQL referenced by the widget. If those resources do not exist in the environment you are importing from, they will be displayed as widget-specific errors after import.
Get
- Click Import at the top right of the dashboard list page and upload the ZIP file to the drop zone.
- Uploading will open the Review Phase, where the following items will be checked and reported:
- Name conflict: If a dashboard with the same name already exists
- Name rule violation: If the name contains characters that are not allowed (e.g. non-ASCII characters like Korean)
- Resolve conflict/violation items by entering a new name. The import screen in the dashboard list does not provide for skipping existing items. If there are any outstanding items, the import will not proceed.
This import is for a single dashboard ZIP only and is independent of collection-wide ZIPs (collection ZIPs are done under Collection Import).
skip_existing in the API reference is an option that applies to collection/scenario ZIP import. Does not apply to single dashboard import screens.
Preview
Preview is a read-only environment. It is suitable for checking and analyzing data without editing the widget. The top header displays Owner Avatar + Name Chip next to the dashboard title, allowing you to see at a glance who created the dashboard.
How to access the preview
- Click a card/row in the dashboard list.
- In edit mode, click the Preview button.
What you can do in Preview
| Features | Description |
|---|---|
| Change DRS scope | Adjust inquiry period with top DRS (preset or custom) |
| Switch edit mode | Clicking the Edit button takes you to the dashboard builder (Editor/Owner) |
| Refresh data | Instantly view the latest data with the refresh button |
| Auto Refresh | Automatic renewal according to the cycle specified in settings (disabled when DRS fixed range is locked) |
| Table Sorting / Page Breaking | Behavior within the Data Table widget |
| Widget Action Menu | Open in new tab (External Site Embed) in the ⋯ menu at the top right of the widget, etc. |
You cannot add, delete, move, or change the size of widgets in the preview. If you need to make any changes, switch to the Edit button.
Copy dashboard
You can clone an existing dashboard and use it as a starting point for a new dashboard.
Copy method
- In the dashboard list, click the
⋯menu of the dashboard you want to duplicate. - Select Duplicate.
- All widgets, data settings, and layout from the original dashboard are copied.
When you need to create multiple similar dashboards, cloning can greatly reduce repetitive tasks. For example, if you need KPI dashboards with the same structure for each department, you can create one, duplicate it, and simply change the data source.