Manage service accounts and access tokens
Use the Service Accounts screen to create non-human automation accounts and issue or revoke access tokens used for D.Hub authentication. Use them when scripts such as CI, pipelines, or partner integrations need to call D.Hub.
Only users with the Admin type can access this screen. A user without permission who opens the address directly is redirected to Home.
Open Service Accounts
Select System → Settings → Service Accounts in the sidebar.
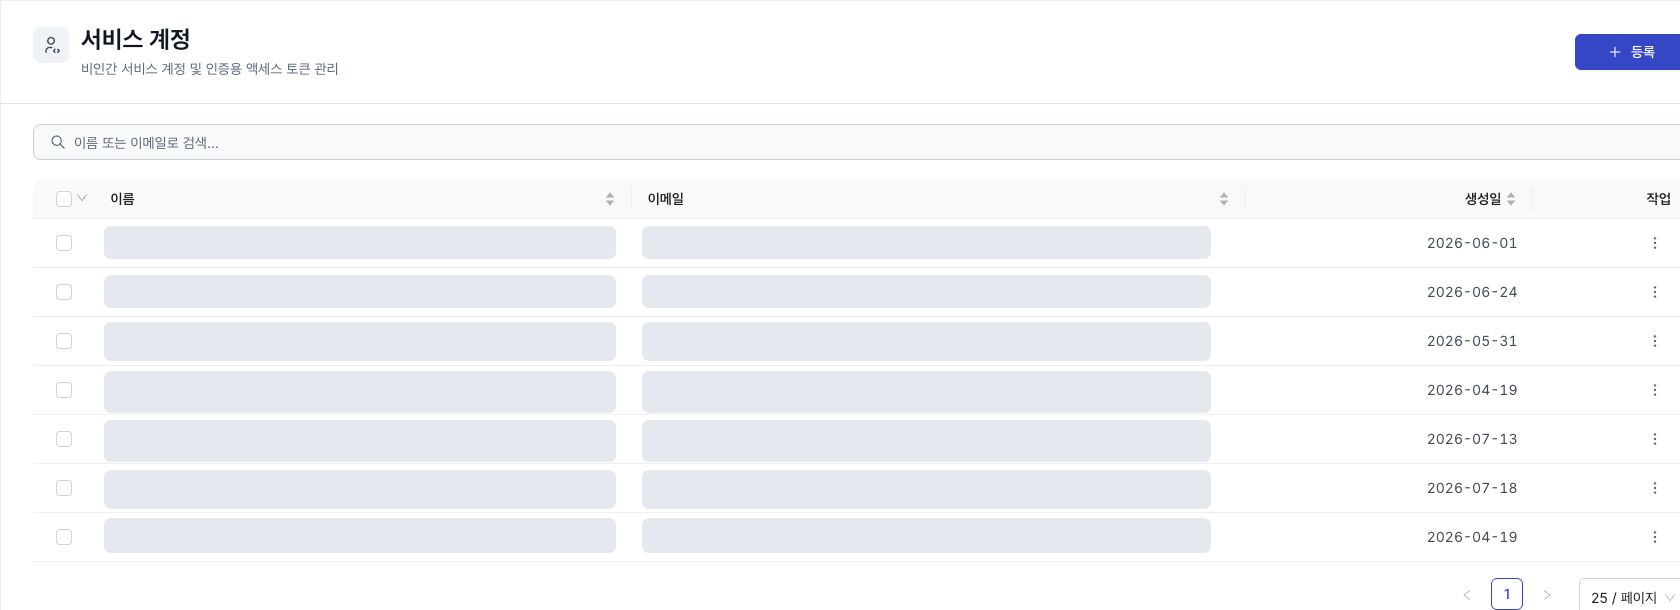
Service account list
Registered service accounts appear in a table with Name, Email, and Modified columns. Select a column header to sort, and drag a column boundary to resize it.
- Search: Narrow the list by entering a name or email.
- Open details: Select a row to manage access tokens and permissions.
- Bulk delete: Select multiple row checkboxes to display the bulk action bar. Select Delete to remove the selected accounts together.
Create a service account
- Select Register at the top right of the list. The Create service account dialog opens.
- Enter a name. Email is optional. Enter a real address such as
ci-pipeline-bot@example.comonly when the account must receive notifications. If blank, the server creates a non-deliverable address. - Select Create.
- Confirm the service account's name and email in the list.
A service account has no password and cannot sign in through the interface. Issue an access token after creation to authenticate it. Service accounts also appear in the User Management list.
Issue an access token
- Select a service account in the list to open its details.
- Under Access tokens, select Issue token.
- Enter a required name, optional description, and expiration period. Choose 30 / 90 / 180 / 365 days. The default is 180 days.
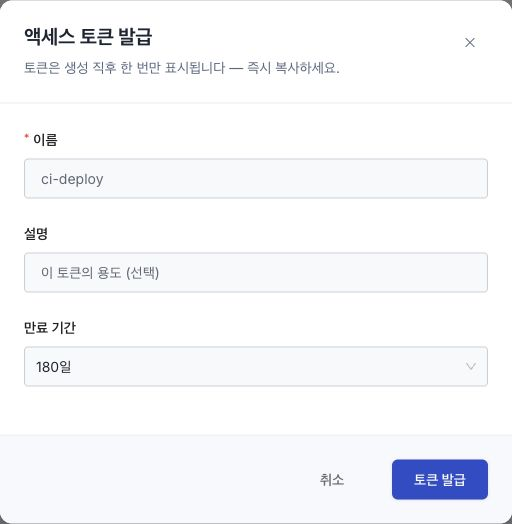
- Select Issue token.
The token value appears in the Access token created dialog immediately after issuance. Select Copy, store it securely, then select the confirmation checkbox before closing the dialog.
Run one authenticated request with the issued token, and confirm that Last used is updated in the token list.
The token value appears only immediately after issuance and cannot be retrieved later. Copy and store it before closing the dialog. If it is lost, revoke the existing token and issue another.
Each account can have up to 10 tokens. At the limit, Issue token is disabled. Revoke an existing token before issuing another.
Token status and revocation
The token table contains Name, Description, Last used, Expiration, and Status columns. Status is Active, Expired, or Revoked.
To revoke a token, select Revoke from its row action menu.
Revoking a token immediately stops authentication for any client using it. A revoked token cannot be restored; issue another if needed.
Grant and revoke permissions
Resource access for a service account is not granted on this screen. Grant Owner, Editor, or Viewer from the resource's Share & Permissions screen. To let a service account run a connector or reference a secret, search for it under Use permissions on that resource's edit screen. See Use permission in the permission model for the difference between the two permission systems.
The Permissions section on the detail screen lists granted permissions under Resource type, Resource, and Role. Select Revoke access in a row to remove that resource access. This action cannot be undone.
Delete a service account
Select Delete from a list-row action menu or the bulk action bar, then select Delete in the confirmation dialog.
Deleting a service account revokes all its access tokens and prevents further use of its granted permissions. This action cannot be undone.
Next steps
- External data access — Call data query APIs with a service account and periodically write results to an external database.
- API authentication — Use an issued token to call the D.Hub API.